The Basics of Taking Quality eCommerce Product Images
Half a century ago, businesses lured customers into their storefronts with beautiful window displays. They knew that if people liked what they saw outside a store, they’d want to come into it. That’s because humans are visual creatures. In the age of ecommerce and social media, that fact is more true than ever. It’s estimated that content with visual elements earns 650 percent more engagements than text-only content. Another statistic claims that 75 percent of online shoppers rely on product photos when deciding to buy. Adding photos of your products to your website is a great way to drive engagement, increase conversions (sales), and create loyal customers. For those who aren’t natural-born photographers or designers, use these tips to create high quality ecommerce product images:
- Get platform specific
- Use the right equipment
- Learn the basics
- Master retouches
Get Platform Specific

There are dozens of platforms on the market that allow you to host your online store. In most cases, each one will have different guidelines for the size of your photos. In addition, product photos can be cross-posted to your social media accounts, which also use different sizing procedures. In order to make sure your customers are getting the best view of your products, match your photo size to each platform’s guidelines. Although the size may change over time, current recommendations for ecommerce product images are as follows:
- Shopify: Shopify has a size range that photographers and designers can work in when creating product photos. Currently, maximum photo size is 4472 pixels by 4472 pixels. However, the platform recommends images to be 2048 by 2048 pixels, for square photos. In addition, images must be a minimum of 800 by 800 pixels for the zoom function to work.
- Magento: In order to enable zoom on a base product photo, it needs to be at least 1100 by 1100 pixels. Without zoom, photos can be 470 by 470 pixels.
- BigCommerce: As of 2018 (more current sizing recommendations weren’t found, please check your account for new guidelines if they exist), ecommerce product images on BigCommerce are recommended to be 1028 by 1028 pixels.
Use the Right Equipment
Many entrepreneurs believe that, in order to take studio-quality photos, they need to shell out for studio equipment. However, good product photography can be accomplished with just a few simple, affordable tools. The basics include:
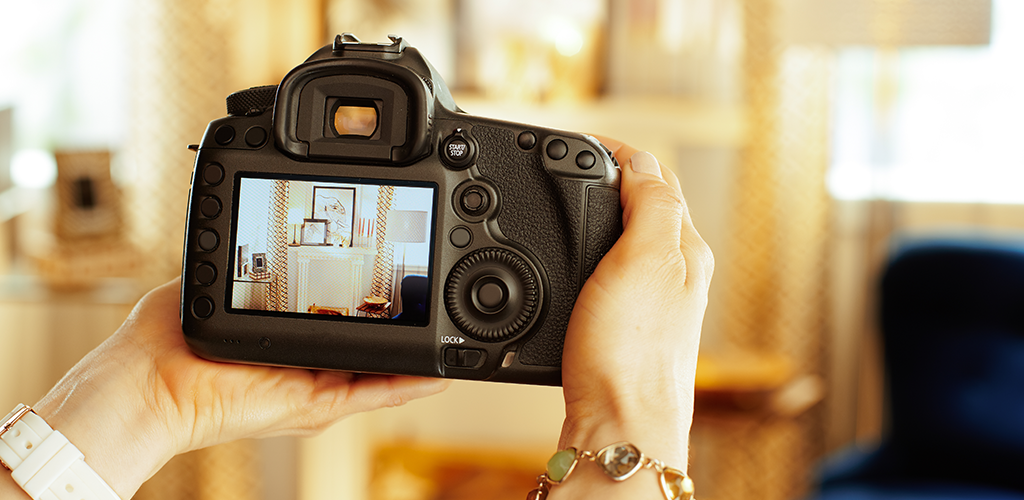
- A Modern Smartphone: Most current smartphone cameras have the ability to take stunning product images. No need to spend big bucks on a DSLR camera.
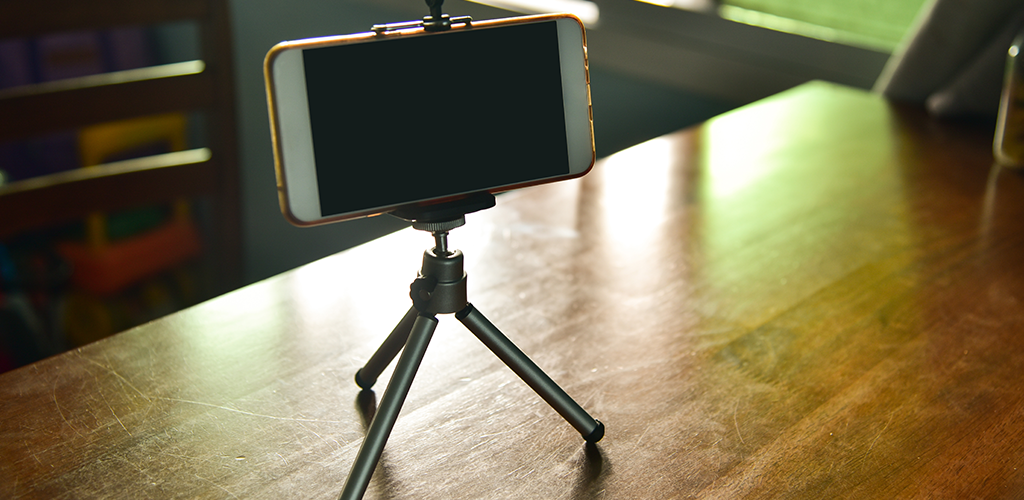
- A Tripod: A lot of bad ecommerce product images are bad because the camera used to take them wasn’t perfectly still. Buy a cheap tripod for your smartphone (or come up with a way to make one), to help avoid camera shake and the problems that arise with it.
- White Poster Board: Do you remember those weird umbrellas the photographers used on school picture day? They were used to take the harsh light of a flash and diffuse it softly over the subject, to avoid harsh or distracting shadows. For the purposes of product photography on a budget, white poster board can accomplish the same thing.
In addition to the equipment needed to take the actual product photo, there are a few other things that all entrepreneurs should add to their photography toolkit. They include:
- A Phone Charger: If you’re taking photos with your phone, you don’t want the camera to drain its battery before your shoot is done. Keep a spare charger with you to avoid this issue.
- Clamps or Clothespins: Many photographers hang a white sheet or drape white paper behind a product to give it a clean background. Clamps will help you to hang that background wherever you go. In addition, if your store sells clothes, clothespins will help you to pin your garments to the models to achieve just the right look.
- Tape or Tack: If you have a product that needs to be stuck down in a certain way but you don’t want to use industrial-strength glue to achieve that look, tape or blue tack will be your best friend.
- Fishing Line: Unfortunately, tape and tack can’t make every object stand up just right. In this case, suspend your item from a piece of fishing line. It will allow you to take a photo with more depth, and can be erased in post-editing. This tactic is especially popular with jewellery stores.
Learn the Basics of Taking eCommerce Product Images

Although it’s true that some people simply have a more artistic eye than others, there are a few photography tips everyone can learn. A few of those tips to improve your product photography include:
- White Background: Most ecommerce platforms allow you to upload multiple photos per item. In most cases, it’s best for the first image customers see to be your product on a simple, white background. This will highlight the product itself without distracting from it with extra props. You can add contextual photos (images of your product being used in a natural setting) further into the gallery.
- Lighting: Good lighting can make the difference between a good product image and a bad one. Don’t shine a light right on your product and don’t use flash in your images. This will lead to over-exposure and distracting shadows. Instead, place your “studio” near a window to get naturally diffused light or bounce light off of a piece of white poster board for a softer refraction.
- Work Your Angles: When shopping online, photos are often the only thing a person can use to decide if they want a product or not. Make sure your photos show them every inch and aspect of your products by shooting them from different angles. Angles can also be used to turn a standard photo into a more visually-appealing one.
- Don’t Zoom: If your camera or smartphone comes equipped with a digital zoom, do not use it. In order to zoom in a photo, this feature does so by sacrificing pixels and, therefore, quality. To maintain photo quality but get an up-close and personal image, move yourself and your camera closer to your product instead.
Master Retouches
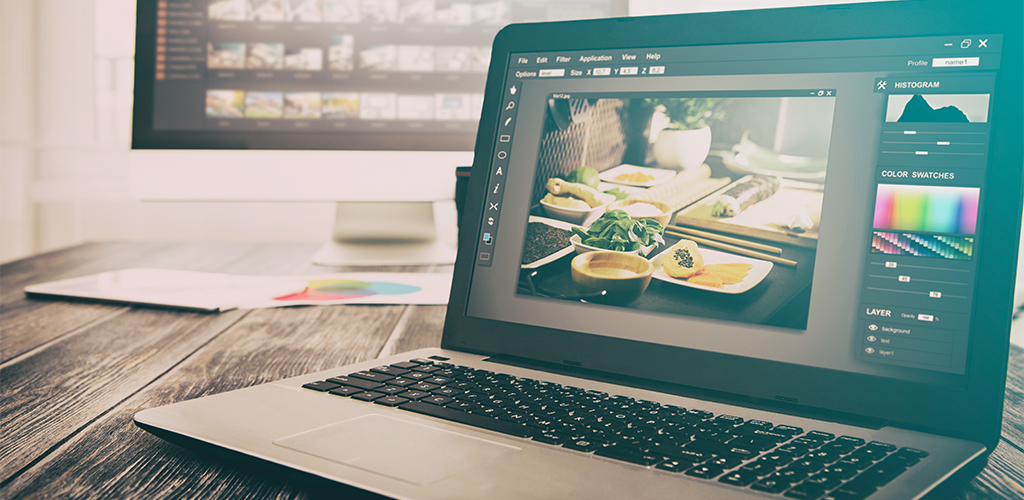
Sometimes, your product photos will need to be edited after they have been taken. Editing can help you remove smudges and other small imperfections, make colours a little more vivid, and more. However, don’t go too wild with your edits: one of the most common reasons for online product returns is because the item doesn’t look like it did in the photos. Some editing basics to master include:
- Removing Backgrounds or Elements: If the background of your photo distracts from your product, you can remove it in post-editing. Likewise with other elements (such as mannequins) that detract from the overall aesthetic of the image.
- Correcting Colours: Sometimes an image’s colours look different on your camera screen than they do on a computer screen. You can correct them with editing software.
Visit Shopivo and stay tuned for exciting news and updates! Sign up for our emails and stay up-to-date on new developments and features.