How to Become an Expert Infographic Maker in Only 8 Steps
Infographics are a great way to turn purely textual information into a visual medium. They’re both eye-catching and educational. Some studies even claim that an infographic is 30 times more likely to be read than a strictly text article. They are, also, more difficult to create than a written article, especially for someone who isn’t a graphic designer. If you want to start using this medium in your brand, but aren’t sure how to go about it, our eight steps will help to make you an expert infographic maker in no time.
- Start with a pre-design checklist
- Collect your content and data
- Find visual inspiration
- Begin designing
- Include a footer
- Use a call to action
- Have someone else review your work
- Add an embed code and Pinterest link
Start With a Pre-Design Checklist
Before you start designing, there are a few questions you must answer. These questions will help you hone in on a focus for your design, to give it as much impact as possible. First, ask what the main topic of the graphic is. Second, ask yourself who the audience of the graphic will be. And finally, ask what the goal of your infographic is and how you will measure its success (through shares, comments, etc.).
Collect Your Content and Data
You can’t have an infographic without, well, info. The entire purpose of the graphic is to educate your desired audience on a specific topic. So, before you start designing, you need to know what content you’re going to design around. The data you use can be gathered through third-party sources or your own studies. Just remember to collect a list of the sources you cite for later!
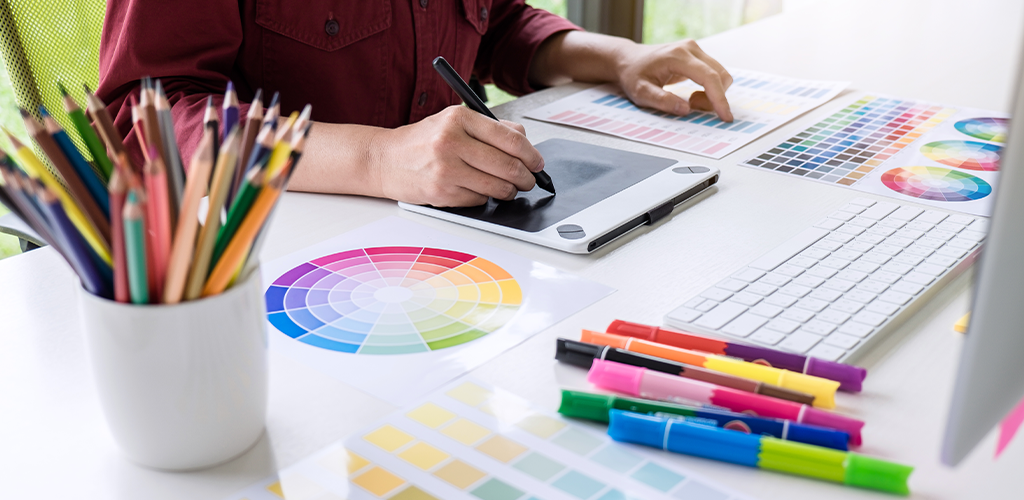
Every Infographic Maker Needs Visual Inspiration

If you aren’t a natural graphic designer, take some time to study what other companies and templates have done. Examine their layouts, wording, use of colour and spacing, and more. By understanding how all of the elements of a graphic come together, you’ll be better able to design your own with great success.
Begin Designing
We’re going to let you in on a little secret: not every expert infographic maker designs from scratch. When you’re ready to begin designing, you can either challenge yourself to start with a blank canvas or you can save yourself some time and possible headaches by using a template. We recommend checking out Canva, an excellent (and free) graphic design website, that can be used by beginners and pros alike.
Include a Footer
All of your designs should include a footer at the bottom. This space should be set aside for your logo and any sources you used for your data that weren’t generated by you. The footer will add credibility to your infographic. Because graphics also have to summarize large amounts of content, sharing your sources in the footer allows your readers the opportunity to research more on their own.
Use a Call to Action
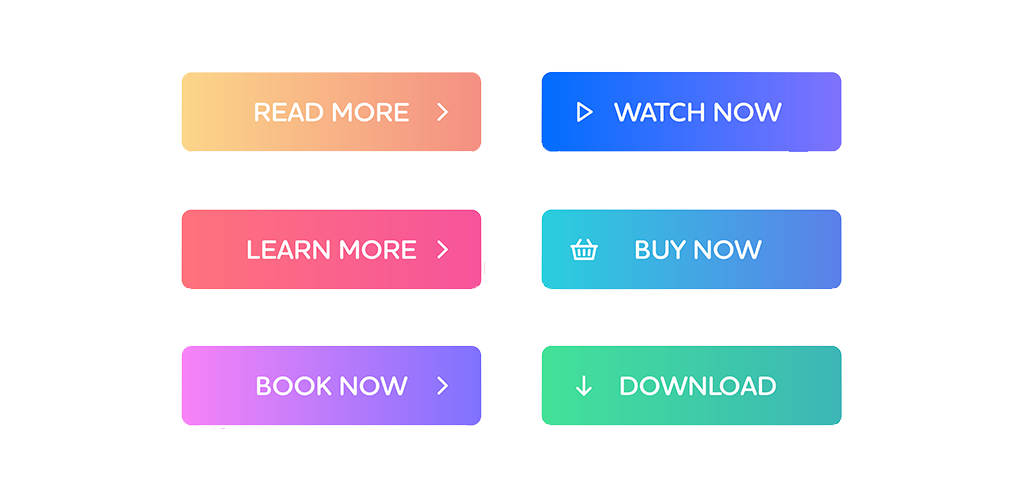
By this point, you have a beautiful graphic. You’re sure to educate your audience on the topic at hand. Now, you want to spur them into acting on it! Do you want them to sign up for something? Donate to a cause? Make a lifestyle change? Recycle more often? This will tie back in to the purpose of making your infographic in the first place.
Have Someone Else Review Your Work
Before publishing your graphic online, every infographic maker should have their work looked over by a fresh set of eyes. Have this person look for any small errors, like spacing, or spelling, but also ask them about the flow of the graphic. Does it make sense? Does it get the main points across? Does the reader come away knowing more about the topic than they did two minutes ago? You can correct any mistakes now, so that the final product is as polished for the public as possible.
Add an Embed Code and Pinterest Link
Finally, as you’re getting ready to share your graphic online, add an embed code and Pinterest link to the file or web page. This allows anyone to share the graphic to other sites, so your work can be seen by a wider audience.
Visit Shopivo and stay tuned for exciting news and updates! Sign up for our emails and stay up-to-date on new developments and features.