How to Photograph Jewellery for Your Online Store
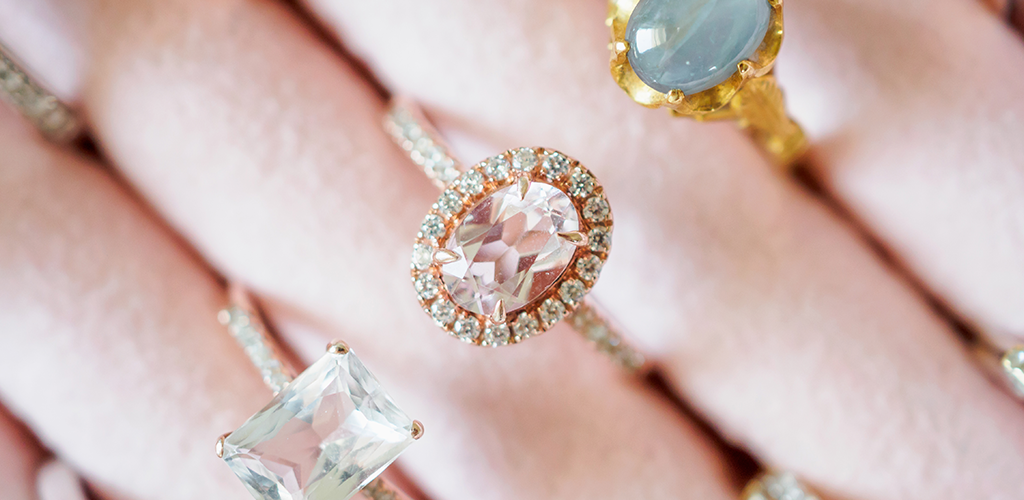
Jewellery is one of the most popular items to sell online. Entrepreneurs can make high-quality items with a low-cost, low-time investment, often right from home. Unique pieces are in high demand from consumers who want to stand out, or who wish to patronize small businesses instead of the often-more-expensive retail chains. Because most pieces are also small, they’re easy to ship and don’t take much space to store. However, with so many options to choose from in a saturated market, it can be difficult for an individual business to stand out from the crowd. In the jewellery industry especially, consumers may be hesitant to spend their money on a product that they can’t see in person and must instead rely on pictures to visualize. One of the best ways to overcome their hesitation is to add professional photographs to your product pages. Here’s how to photograph jewellery for your online store:
- Use natural or diffused lighting
- Opt for a white background
- Choose the right lens settings
- Use a tripod
- Stage your photos correctly
- Shoot multiple angles
- Manage reflections
- Clean products first
- Edit photos professionally
- Set guidelines
Use Natural or Diffused Lighting
Using the wrong lighting in photography can lead to sloppy reflections, harsh shadows, and a subject that ends up looking less than its best. For a business trying to convince consumers to buy from them, any photos that don’t do their products justice will end up resulting in disappointing sales. So, the first step to take when learning how to photograph jewellery is to get the lighting right. Aim for soft, diffused lighting in all of your images. One way to achieve this effect is to buy studio lights and diffusers for them. However, for a small business that can’t afford a professional lighting setup, natural light filtering through a window is a great alternative. In the event that the product is poorly lit, avoid the temptation to use camera flash. It will overexpose and overshadow an image. Instead, bring in more diffused lighting or wait for a day when it’s brighter outside.
Opt For a White Background
When learning how to photograph jewellery, many beginners eschew plain backgrounds in favour of more complex and, in their opinion, visually appealing options. However, when it comes to product photos, simple is almost always best because it removes any distractions from the product itself. In addition to clarifying the setting, a white background also reflects light and reduces the likelihood of reflections being visible in metallic or otherwise shiny items. Once you have taken a plain background photo, then you can experiment with different options as a secondary option.
Choose the Right Lens Settings
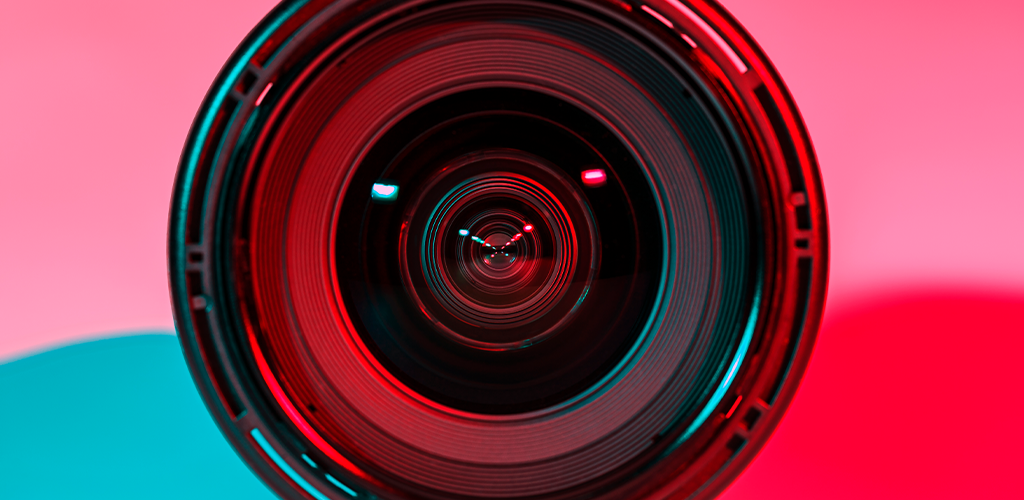
For a photographer using a smartphone, lens settings may not be available to you. But for those using a phone or a camera that allow the user to adjust the pre-sets, there are a few tips to keep in mind. The first consideration is white balance: this is the setting that makes sure your camera is seeing colours accurately, based on how the device sees white. White balance changes based on the light you are shooting in, so should be adjusted every time you start taking new photographs. The second consideration is the f-stop, which adjusts the focal length of your camera lens. Different f-stops change how much of the photograph is in focus. While many amateur photographers are tempted to make a picture more “artsy” by focusing on a particular product feature while blurring the rest, when it comes to product photos, customers want to see sharp focus on the entire item. Adjust your f-stop accordingly.
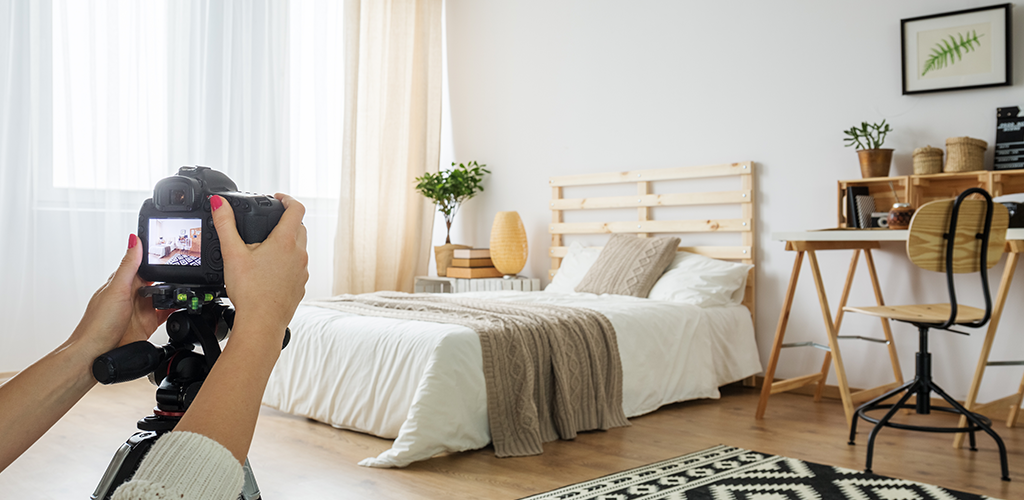
Use a Tripod When Learning How to Photograph Jewellery
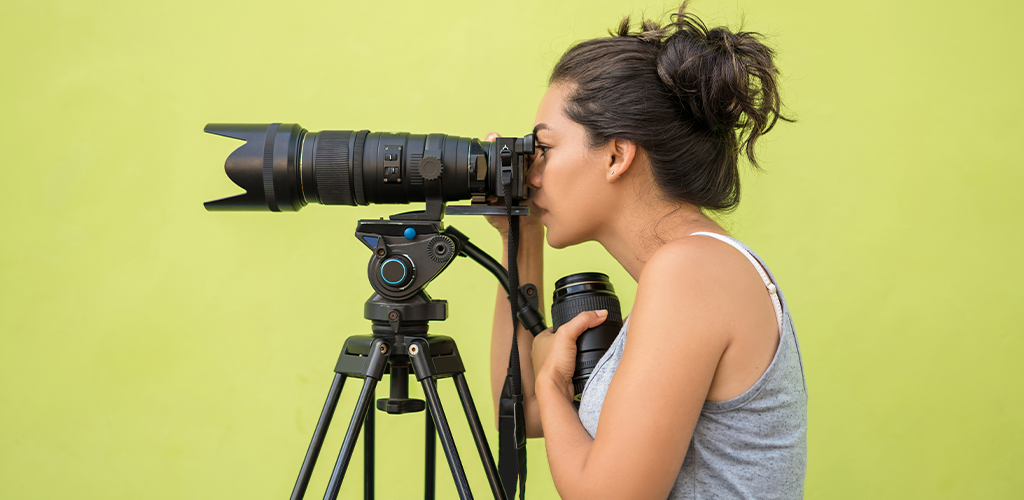
Tripods are an invaluable tool when it comes to ensuring all product photos are crisp and clear. They hold cameras steadier than human hands can to reduce shake and blur, and are easily affordable to everyone.
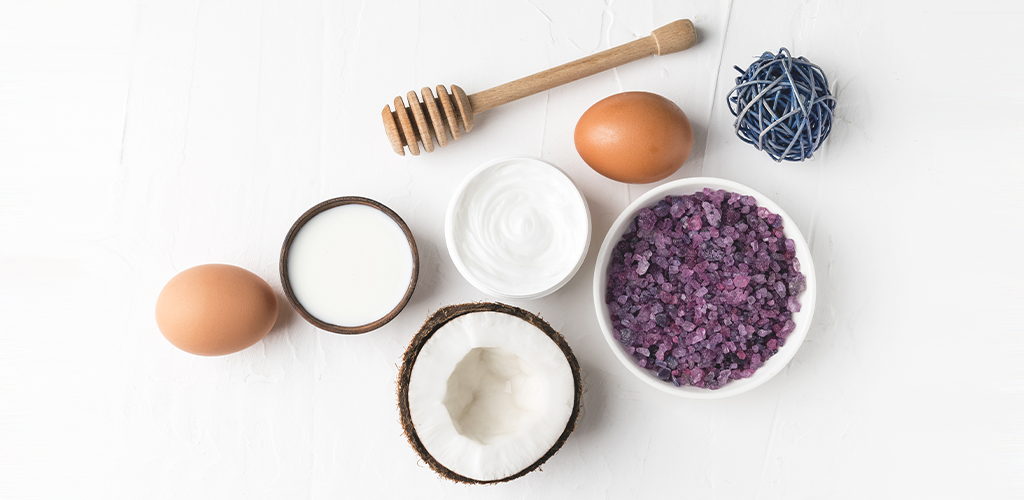
Stage Your Photos Correctly
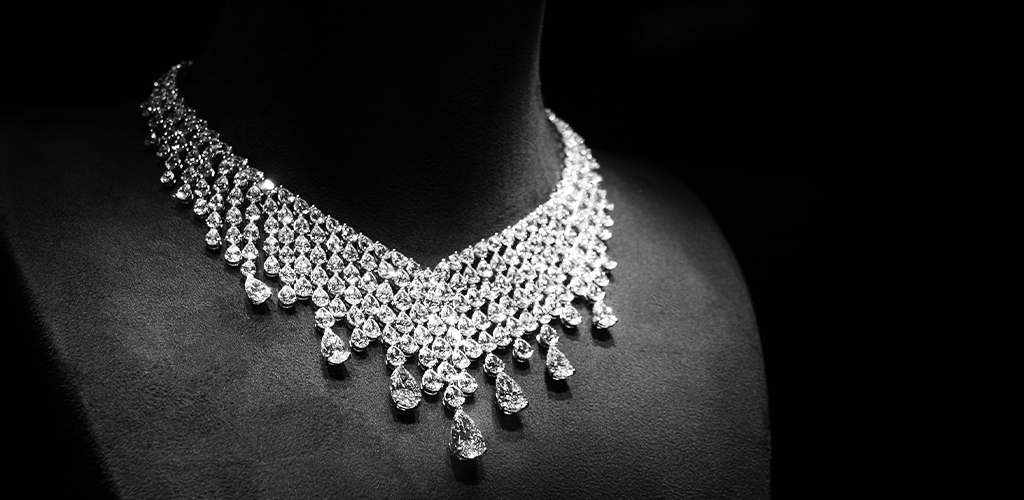
Because most jewellery is often flat unless it’s actively being worn, photos taken of the pieces when they’re not being worn can also come out looking flat and lacklustre. What’s a photographer to do? In this case, many craft stores sell mannequin necks and hands with which to display jewellery in a more attractive and interactive way. If you don’t want to shell out on a mannequin, necklaces can also be beautifully displayed using a cardboard base and items like rings or bracelets can be propped up by double-side tape or small bits of glue. This allows consumers to better picture how an item will look while being worn.
Shoot Multiple Angles
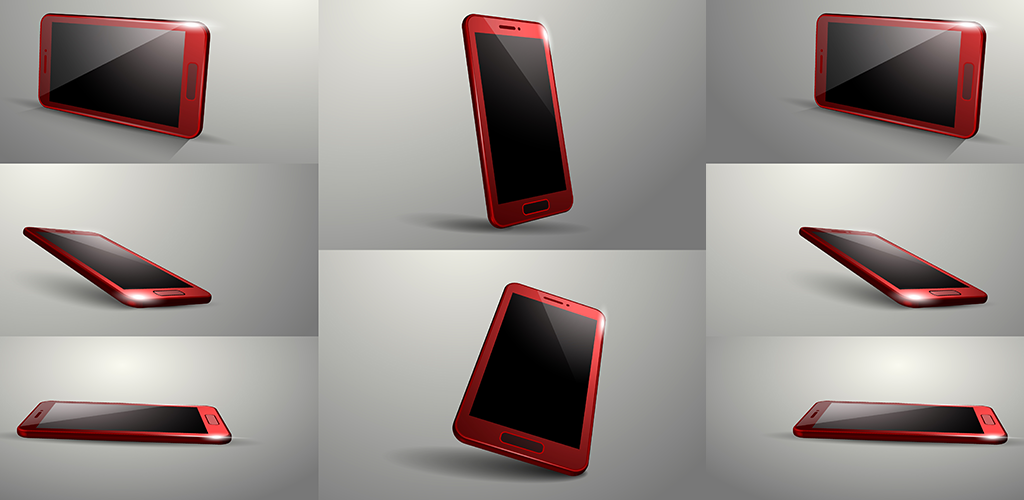
Some studies suggest that as many as 75 percent of shoppers rely on product photos when it comes to deciding whether or not to buy a product online. Because they can’t see or otherwise interact with the item in person, photos are a customer’s best way to determine quality and usefulness. You can increase the chances of someone buying your items by shooting photos of those items from a wide variety of angles.
Manage Reflections

Since a lot of jewellery is made of materials such as metals and gems, many people learning how to photograph jewellery for the first time struggle to stop reflections from distorting their photos. One of the easiest ways to do this is to double-down on the white background. Make sure the backdrop and floor below the product is white, and also attach a white piece of paper below your lens. Then, use diffused lighting on both sides of the product. This set up will reduce possible reflections and reflect more light onto the subject as well.
Clean Products First
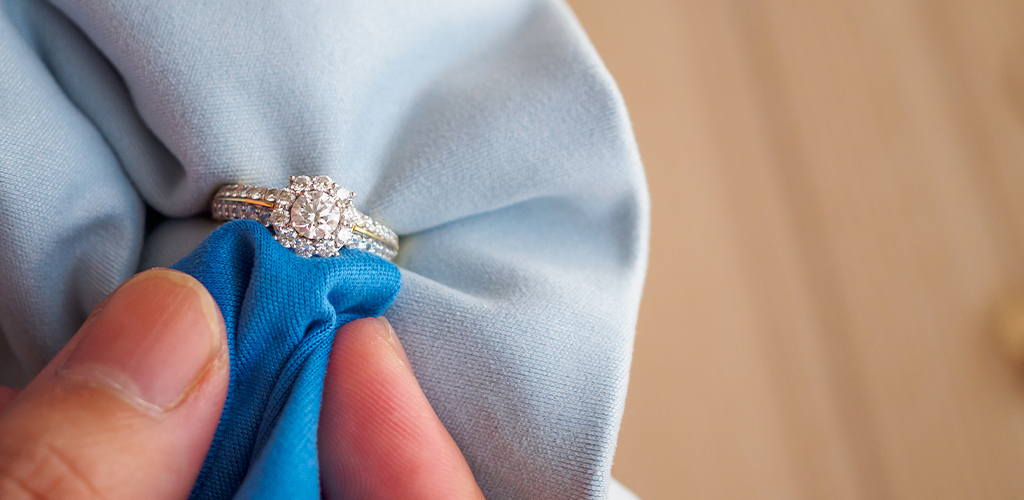
This step is the fastest and the easiest a person can take to make their jewellery photography shine (literally). After staging your photos, make sure to clean your subject of any smudges and fingerprints that may have been left behind. When customers are looking at the photos up close, you don’t want them to be distracted by easily fixed imperfections. Another way to fix (and prevent) this problem altogether is to wear gloves when staging your photos.
Edit Photos Professionally
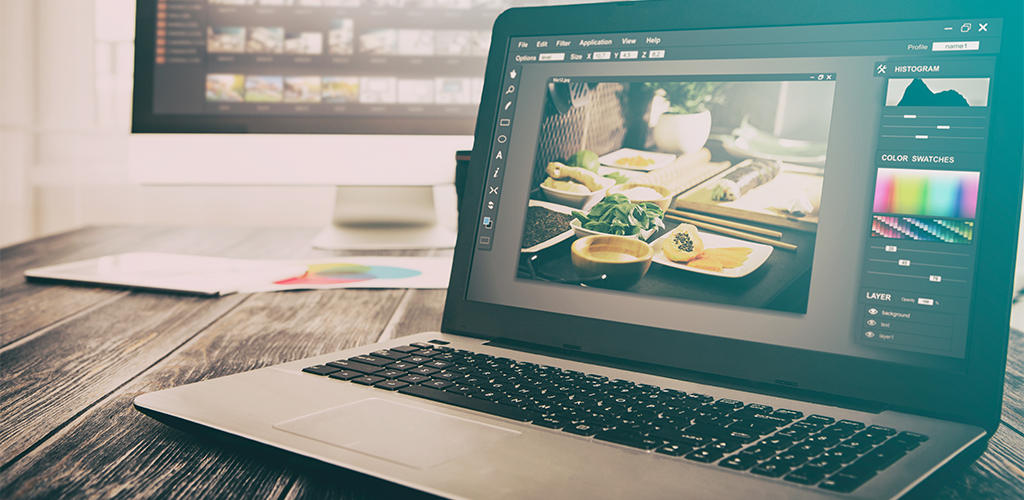
After the fun of the photo shoot comes the task of editing and retouching images to make them look as stellar as possible. Although most retouching isn’t too intensive, one of the biggest mistakes new photographers make is editing their photos when they don’t know what they’re doing. A poorly edited image can look fake and reduce trust and interest in a product. If you aren’t 100 percent confident in your Photoshop skills, spend the money to hire a professional to do the task for you.
Set Guidelines

You may have heard of the phrase “consistency is key.” That saying remains true when it comes to product photos. All images, whether they’re in the same gallery or from different products, should have a consistent look and feel. That means the lighting settings should be the same, staging should be similar, and the focus from one image to another should match. Before you begin uploading photos to your online store, play around with the settings you use in order to find the best look for your business, then write those settings down in a guide so you can continue taking consistent, professional photos for every product.
Visit Shopivo and stay tuned for exciting news and updates! Sign up for our emails and stay up-to-date on new developments and features.